
 PC
PC
Il rame è tra le risorse più utili di Starfield e in questo articolo vi spiegheremo dove trovarlo e come utilizzarlo. Alcuni materiali sono incredibilmente importanti per il potenziamento di armi e non solo, come il titanio, l’argon e l’europio.
Ebbene, anche il rame gioca un ruolo fondamentale, quindi vi spieghiamo tutto ciò che dovreste sapere in merito.
Indice
Starfield: dove trovare il rame
Per fortuna il rame è una risorsa piuttosto comune, quindi non sarà difficile trovarlo. Prima di tutto, aprite la mappa e consultate i pianeti che riportano la dicitura Cu tra le varie risorse disponibili.
Dopo aver trovato il pianeta, atterrate in un punto vicino al simbolo del rame. Se non sapete come atterrare su un pianeta, vi copriamo con una guida completa.
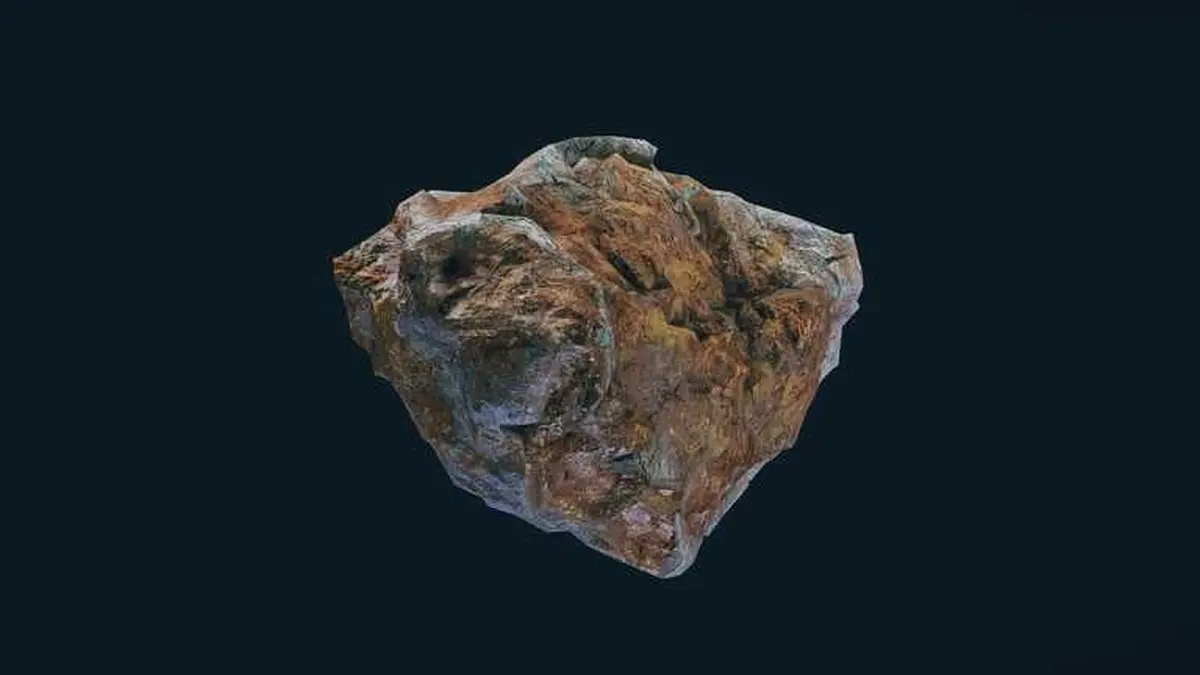
Una volta arrivati prendete il vostro scanner di fiducia e utilizzatelo per analizzare le rocce vicine. Riconoscerete il rame molto facilmente, dato che ha una colorazione dorata.
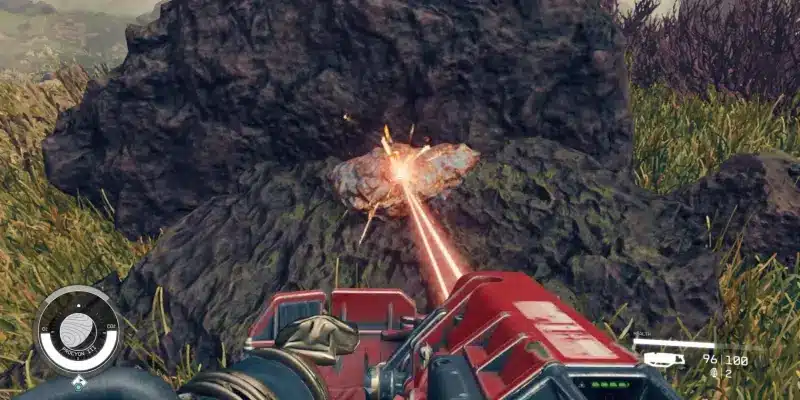
Fatto ciò, dovete semplicemente utilizzare il Cutter e poi sparare alla roccia e il rame verrà automaticamente aggiunto al vostro inventario. Ricordate che in questo caso l’avamposto gioca un ruolo essenziale, dato che vi permetterà di ottenere più risorse rapidamente.
Pianeti che hanno il rame
I pianeti sistemi in assoluto sono:
- Cheyenne System
- Guniibuu System
- Lunara System
- Procyon A System
- Sol System
- Tau Ceti System
Ecco invece l’elenco completo di tutti i pianeti che contengono rame:
- Agamon A (Cheyenne System)
- Agamon B (Cheyenne System)
- Agamon D (Cheyenne System)
- Alpha Andraste IV (Alpha Andraste System)
- Altair III (Altair System)
- Altair IV-a (Altair System)
- Aranae IV-c (Aranae System)
- Aranae IV-d (Aranae System)
- Ariel (Sol System)
- Augur (Delta Pavonis System)
- Bardeen V-c (Bardeen System)
- Bardeen V-d (Bardeen System)
- Bardeen VI (Bardeen System)
- Bardeen VI-b (Bardeen System)
- Bel II-a (Bel System)
- Bel III (Bel System)
- Bel V-a (Bel System)
- Carinae IV-a (Carinae System)
- Carinae V-a (Carinae System)
- Cassiopeia I (Eta Cassiopeia System)
- Celebrai II (Celebrai System)
- Celebrai III-b (Celebrai System)
- Charon (Sol System)
- Charybdis III (Charybdis System)
- Charybdis IV (Charybdis System)
- Charybdis V (Charybdis System)
- Charybdis VI (Charybdis System)
- Charybdis VII-a (Charybdis System)
- Charybdis VII-b (Charybdis System)
- Coulomb (Delta Pavonis System)
- Cragg (Cheyenne System)
- Cruth (Narion System)
- Decaran III (Decaran System)
- Decaran VI-a (Decaran System)
- Delta Vulpes V-c (Delta Vulpes System)
- Delta Vulpes V-d (Delta Vulpes System)
- Delta Vulpes VI-a (Delta Vulpes System)
- Denebola I-b (Denebola System)
- Eridani II (Eridani System)
- Eridani VIII-a (Eridani System)
- Fermi IV (Fermi System)
- Fermi VI (Fermi System)
- Fermi VII-a (Fermi System)
- Fermi VII-c (Fermi System)
- Fermi VIII-d (Fermi System)
- Feynman I (Feynman System)
- Feynman V (Feynman System)
- Feynman VII-c (Feynman System)
- Feynman VIII-b (Feynman System)
- Feynman VIII-d (Feynman System)
- Feynman VIII-e (Feynman System)
- Freya III (Freya System)
- Freya IX-b (Freya System)
- Freya VII-a (Freya System)
- Gamma Vulpes I (Gamma Vulpes System)
- Gamma Vulpes II-a (Gamma Vulpes System)
- Gamma Vulpes II-b (Gamma Vulpes System)
- Gamma Vulpes II-c (Gamma Vulpes System)
- Hardpoint (Cheyenne System)
- Heisenberg II (Heisenberg System)
- Heisenberg IV (Heisenberg System)
- Heisenberg VI-c (Heisenberg System)
- Heisenberg X (Heisenberg System)
- Hyla VI-a (Hyla System)
- Hyla VI-b (Hyla System)
- Hyla VIII-a (Hyla System)
- Hyla VIII-d (Hyla System)
- Indum II (Indum System)
- Indum III-a (Indum System)
- Indum III-b (Indum System)
- Indum III-d (Indum System)
- Indum IV-d (Indum System)
- Ixyll II (Ixyll System)
- Ixyll III (Ixyll System)
- Ixyll IX-c (Ixyll System)
- Ixyll IX-d (Ixyll System)
- Ixyll VI (Ixyll System)
- Ixyll VI-a (Ixyll System)
- Ixyll VI-b (Ixyll System)
- Ixyll VII-a (Ixyll System)
- Ixyll VII-b (Ixyll System)
- Ixyll VII-c (Ixyll System)
- Jaffa II (Jaffa System)
- Jaffa III (Jaffa System)
- Jaffa IV (Jaffa System)
- Jaffa V-a (Jaffa System)
- Jaffa VI-b (Jaffa System)
- Jaffa VII-e (Jaffa System)
- Kalira (Cheyenne System)
- Kumasi IV (Kumasi System)
- Kumasi V-a (Kumasi System)
- Kumasi VI-a (Kumasi System)
- Kumasi VII-b (Kumasi System)
- Kumasi VII-d (Kumasi System)
- Kumasi VIII-c (Kumasi System)
- Kumasi VIII-d (Kumasi System)
- Leviathan IV (Leviathan System)
- Leviathan VI-a (Leviathan System)
- Linnaeus III (Linnaeus System)
- Maal III (Maal System)
- Maal IX-b (Maal System)
- Maal VI-b (Maal System)
- Maal VII (Maal System)
- Maal VIII (Maal System)
- Maheo II (Maheo System)
- Maheo IV-a (Maheo System)
- Maheo V-a (Maheo System)
- Maheo VII (Maheo System)
- Marduk II (Marduk System)
- Marduk VI (Marduk System)
- Marduk VII-a (Marduk System)
- Marduk VII-b (Marduk System)
- Marduk VII-d (Marduk System)
- Marduk VIII (Marduk System)
- Masada VII-b (Masada System)
- Masada VIII-a (Masada System)
- Muphrid II (Muphrid System)
- Muphrid V-b (Muphrid System)
- Muphrid VI-d (Muphrid System)
- Muphrid VII-a (Muphrid System)
- Muphrid VII-b (Muphrid System)
- Muphrid VII-c (Muphrid System)
- Muphrid VIII-c (Muphrid System)
- Navaha (Cheyenne System)
- Neebas (Kryx System)
- Newton II (Newton System)
- Newton III (Newton System)
- Newton V-b (Newton System)
- Niira (Nirah System)
- Oborum I (Oborum Prime System)
- Oborum III-a (Oborum Prime System)
- Oborum III-d (Oborum Prime System)
- Ohm (Delta Pavonis System)
- Ourea (Olympus System)
- Piazzi II (Piazzi System)
- Piazzi IV-c (Piazzi System)
- Piazzi VII-b (Piazzi System)
- Porrima V-a (Porrima System)
- Porrima V-b (Porrima System)
- Porrima V-c (Porrima System)
- Procyon I (Procyon A System)
- Procyon III (Procyon A System)
- Procyon III-a (Procyon A System)
- Procyon V-a (Procyon A System)
- Procyon VI-a (Procyon A System)
- Procyon VI-c (Procyon A System)
- Rhea (Sol System)
- Schrodinger IV (Schrodinger System)
- Schrodinger VI-b (Schrodinger System)
- Schrodinger VIII-b (Schrodinger System)
- Serpentis III (Serpentis System)
- Serpentis IV (Serpentis System)
- Shoza I (Shoza System)
- Shoza II (Shoza System)
- Shoza III (Shoza System)
- Shoza V (Shoza System)
- Shoza VI-a (Shoza System)
- Shoza VII-a (Shoza System)
- Shoza VIII-b (Shoza System)
- Skink (Cheyenne System)
- Stellis A (Cheyenne System)
- Strix I (Strix System)
- Strix III-c (Strix System)
- Strix IV (Strix System)
- Strix VI-a (Strix System)
- Strix VI-c (Strix System)
- Sumati (Narion System)
- Syrma V (Syrma System)
- Tahrnis (Cheyenne System)
- Tau Ceti I (Tau Ceti System)
- Tau Ceti III (Tau Ceti System)
- Tau Ceti IV (Tau Ceti System)
- Tau Ceti VIII-a (Tau Ceti System)
- Titania (Sol System)
- Ursa Major I (Ursae Majoris System)
- Ursa Major III (Ursae Majoris System)
- Volii Epsilon (Volii System)
- Volt (Delta Pavonis System)
- Wellish (Cheyenne System)
- Zamka (Alpha Centauri System)
- Zelazny IV (Zelazny System)
- Zeta Ophiuchi V-b (Zeta Ophiuchi System)
- Zeta Ophiuchi VI-a (Zeta Ophiuchi System)
- Zeta Ophiuchi VI-c (Zeta Ophiuchi System)
- Zeta Ophiuchi VI-e (Zeta Ophiuchi System)
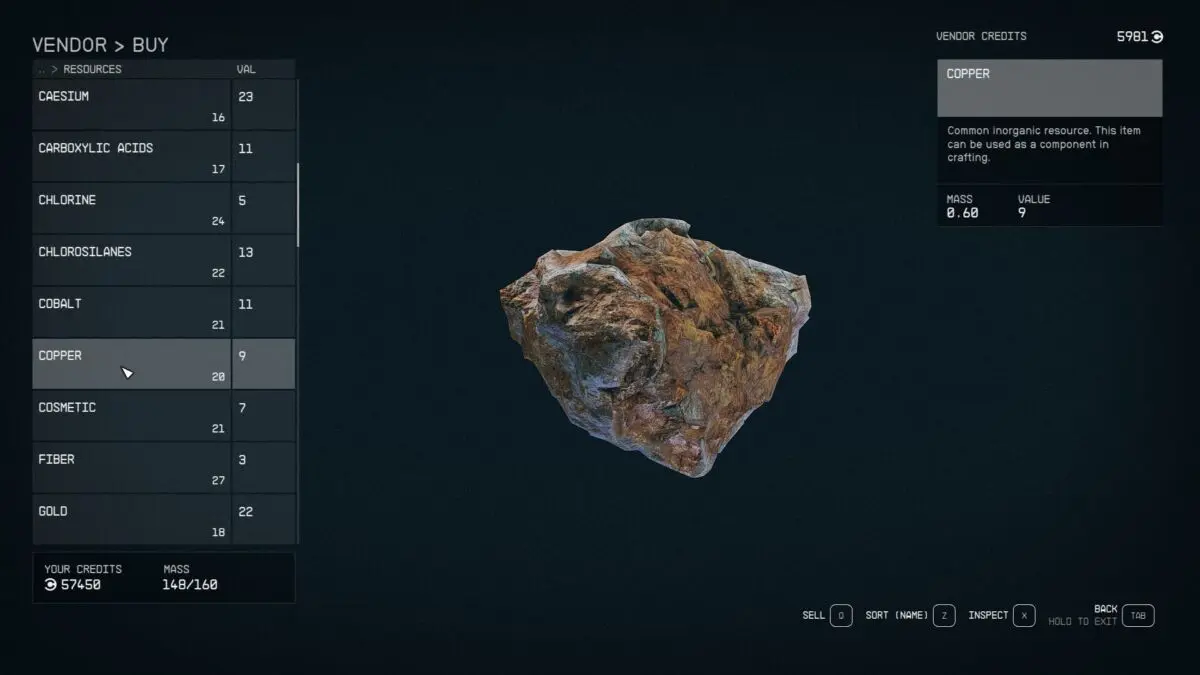
Dove comprare il rame
| Pianeta | Location | Venditore |
|---|---|---|
| Akila | Akila City | Midtown Minerals |
| Mars | Cydonia | Jane’s Goods |
| Porrima II | Paradiso | General Store |
| Suvorov | The Key | General Goods |
| Titan | New Homestead | New Homestead Store |
| Gagarin | Gagarin Landing | Clint’s Collectibles |
| Jemison | New Atlantis | Jemison Mercantile |
| Jemison | The Well | Trade Authority |
| Jemison | New Atlantis | UC Distribution Center |
| Volii Alpha | Neon | Sieghart’s Outfitters |
| Volii Alpha | Neon | Mining League |
Potete comprare il rame a circa 8-9 crediti. Per resettare lo stock vi suggeriamo come sempre di riposare e attendere per almeno 48 ore.
Starfield: a cosa serve il rame?
Il rame è un materiale particolarmente utile, dato che serve per il crafting e per potenziare l’equipaggiamento. Inoltre, è essenziale per la generazione di energia, motivo per cui è importante averne in grandi quantità.
Altre guide su Starfield
Se state giocando a Starfield e vi serve una mano, vi potrebbero interessare anche altre guide:
- I migliori tratti: come funzionano e quali scegliere
- Guida alla creazione del personaggio
- Come rimuovere una taglia
- Guida alle navi: costruzione, personalizzazione e riparazione
- Come atterrare su un pianeta
- Come completare tutti gli obiettivi
- Come migliorare l’inventario
- Come guarire un osso rotto
- Come curare un’infezione
- Guida al boost pack
- Come regolare il FOV
- Come attivare FSR e DLSS
- Le migliori GPU per il gioco
- Come trovare casa a Neon
- Come trovare casa ad Akila City
- Quanto dura il gioco
- Dove trovare l’adesivo
- Come creare le sostanze chimiche: guida a farmaci e droghe
- Dove trovare la fibra
- Guida alla compatibilità con ROG Ally
- Guida ai compagni e alle romance
- Guida alle fazioni
- Migliori armi uniche
Se invece volete leggere qualche notizia interessante legata al gioco, ecco qualche spunto:
- I nuovi driver AMD aumentano le prestazioni del gioco
- Prime valutazioni su Metacritic
- Starfield e Imagine Dragons per una canzone
- Il protagonista del gioco stava per avere una voce: ecco cosa è successo
- Riepilogo informativo del gioco, ricco di ogni dettaglio
- Confermata la possibilità di inserire mod per nuovi pianeti e altro
- Nvidia rilascia i driver GeForce Game Ready
- Xbox Series X a tema
Per altre informazioni, assicuratevi di leggere il nostro recap informativo o il video correlato su YouTube.


Articoli Correlati
 Kingdom Hearts 4 si mostra in un nuovo trailer al Nintendo Direct
- Haex è il nuovo sparatutto horror dai creatori di Little Nightmares
- Annunciato gen Atlas, il nuovo gioco di Fumito Ueda
 Kingdom Hearts 4 si mostra in un nuovo trailer al Nintendo Direct
 Haex è il nuovo sparatutto horror dai creatori di Little Nightmares
 Annunciato gen Atlas, il nuovo gioco di Fumito Ueda